I have wanted to attempt an American Flag pallet project for some time now. My dad did some really cute Christmas trees for my mom to display at her house, but ran out of time before he could do some for me. While I am not skilled in that area, my husband is. It was just convincing him to help me out with this project.
DIY American Flag Pallet
I admit that it was a failed attempt trying to get him to cut me Christmas trees. I think mainly because he knew that he would end up storing them in his “man cave” once the holidays were over, and we just simply didn’t have time to fit it in. However..recently I ran across a picture of a pallet flag and I knew I had to have it.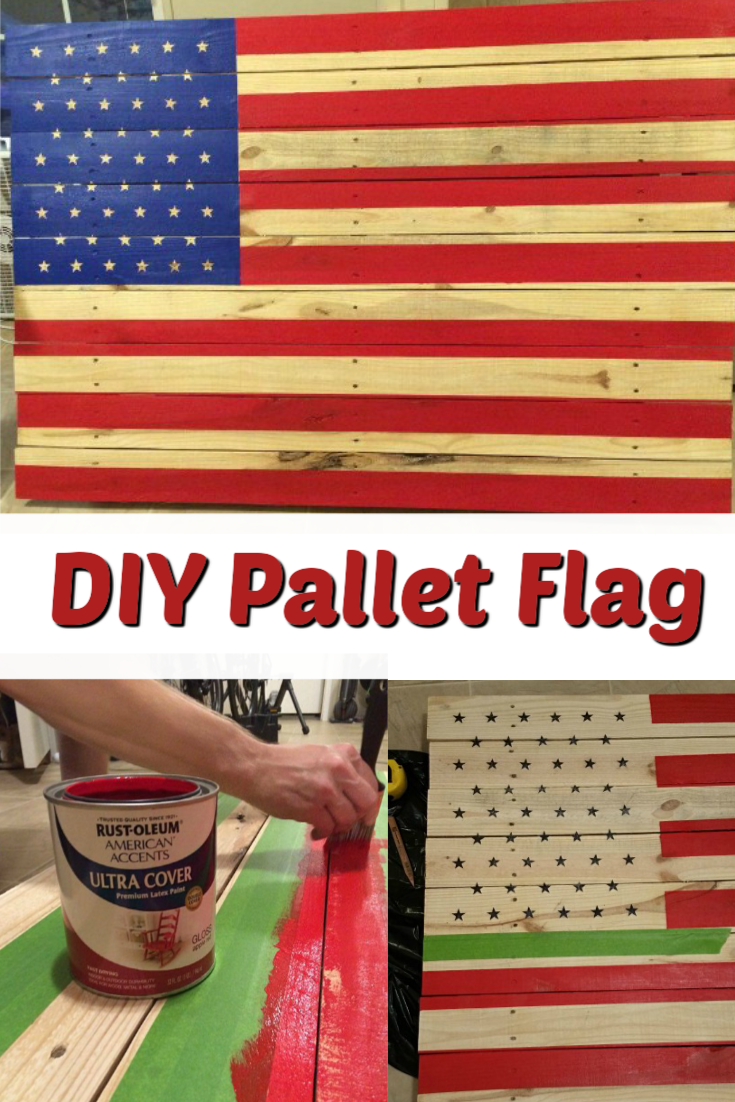
You may also like:
» DIY Upcycle Dinosaur Planter
» Laundry Room Revamp
Once again, I sent him a picture and suggested that we should attempt it. I immediately followed with the words, “It doesn’t look hard and probably won’t take long at all.” I didn’t have much hope in the fact that I would be able to convince him, but I was wrong. He said he would help me, but really he’s the one that did the project. Maybe I can say I contributed a little since I was there talking his ear off, right?
Deciding on the colors to use
At first I was going to do add white paint for the stripes and stars, but in the end we decided to use the natural wood color for both the white stripes and stars. Mainly because we wanted the stars the match the stripes. We didn’t want white stars and then wood colored stripes.
Let’s get started
Well lucky for me, my in-laws have been having work done on their house so they had a few pallets. My husband went down to the barn to pick out the “perfect” one and was extremely successful. I was expecting gaps, but he found one without gaps which made this lady pretty happy.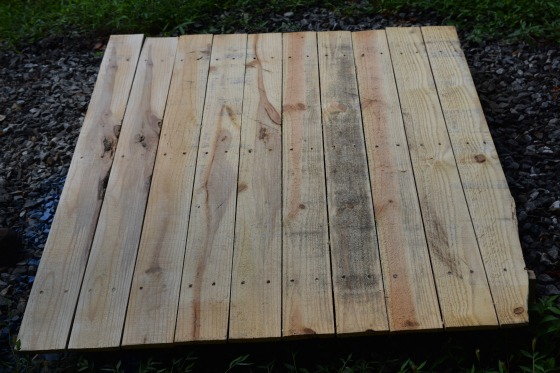
We did have to take off one bottom piece. It was pretty beat up, but it was quick and easy to pop it off.
After that, my husband begin sanding the pallet. He didn’t sand it a ton but smoothed it out a lot to give it a nicer look, which also helped it to be easier to paint.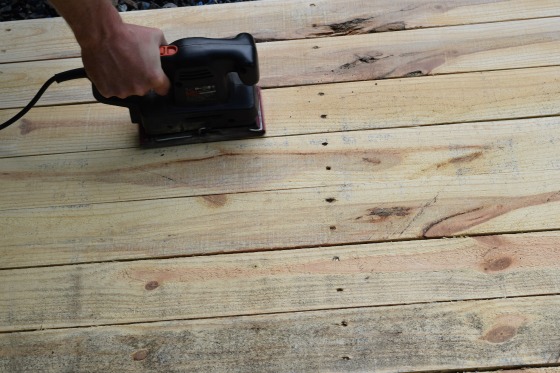
All sanded..
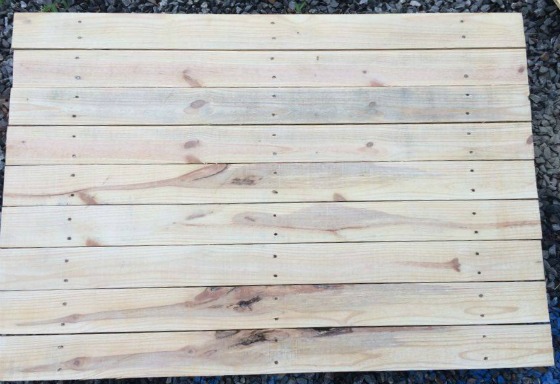
Measuring where to put the lines
Once it was smooth, we measured the pallet to see where to make the lines. He wanted to make sure that we had 50 stars and 13 strips. Once the measuring was complete, it was time to start marking off the pallet using the painter’s tape. We covered completely what was going to be the “white” stripe.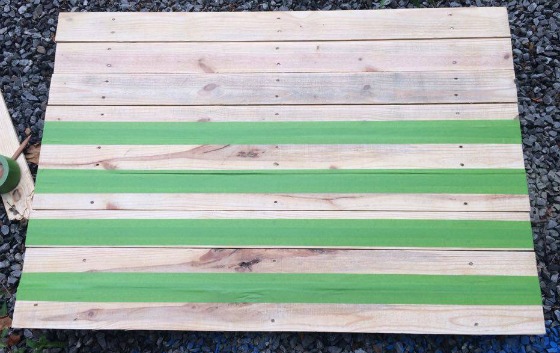
And started painting. I know there are a lot of people that use the spray paint for these projects, but honestly, we had the best luck with the Rust-Oleum Ultra Cover Latex Paint. It took one coat and went on beautifully.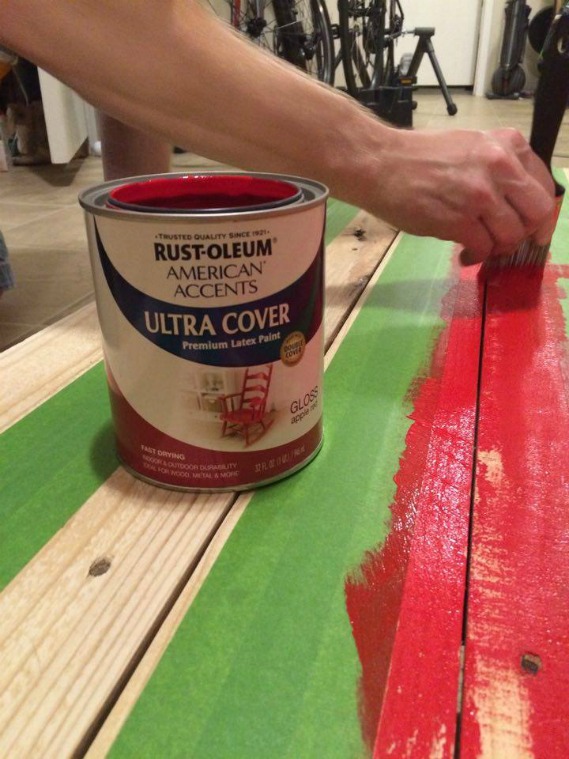
As I mentioned earlier, at first I wanted to have white stars on the American flag pallet, We had it planned on how to do it. I was going to free-hand paint them. This sounds simple to most people, but my husband is a perfectionist. I had a feeling that this idea might be a little…oh how can I put it…impossible. That’s when he suggested leaving the stars the natural wood color instead.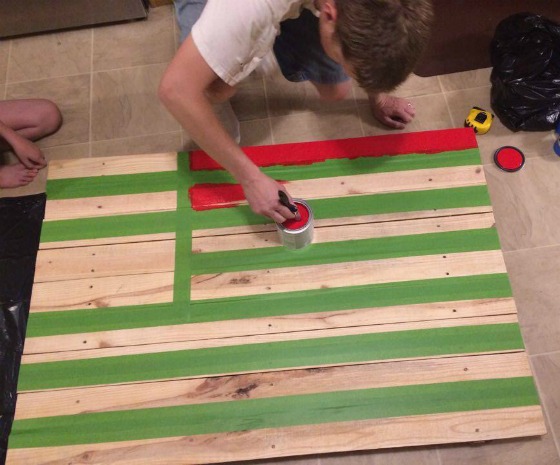
Deciding on how to do the stars
I immediately agreed with him, but that’s when the brainstorming started. It was trying to figure out the best way to do the stars and paint the rest of the section blue. That’s when my husband had an awesome idea. We would print star images on mailing labels (5160 size to be exactly) and use those for the stars.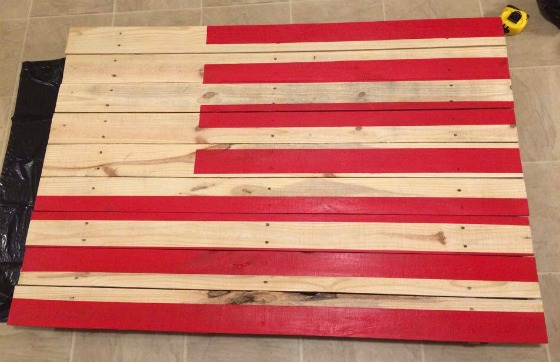
Remember when I told him this would be an easy project and not take long. I may have ended up telling a white lie there. Once we decided to do the stars natural, all 50 of them had to be cut out using an xacto knife and placed on the pallet. My husband had measured and marked where each star needed to be placed.
Once the stars were cut out and put into place, the painting begin on the blue.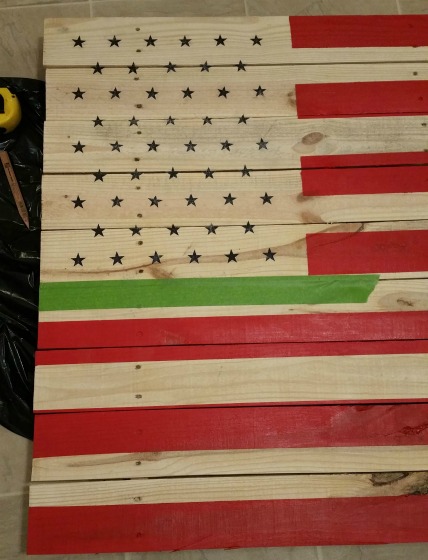
Once the paint dried, it was time to take off the stars…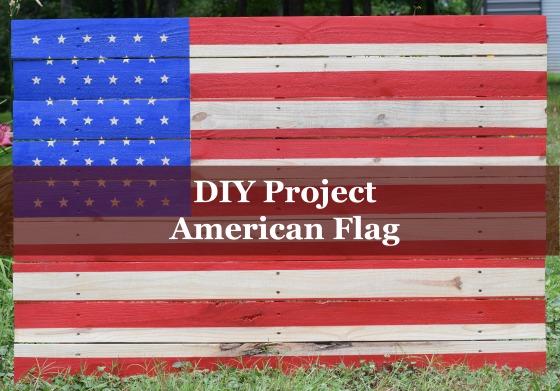
And there you have it… my beautiful pallet flag is complete..thanks to my husband.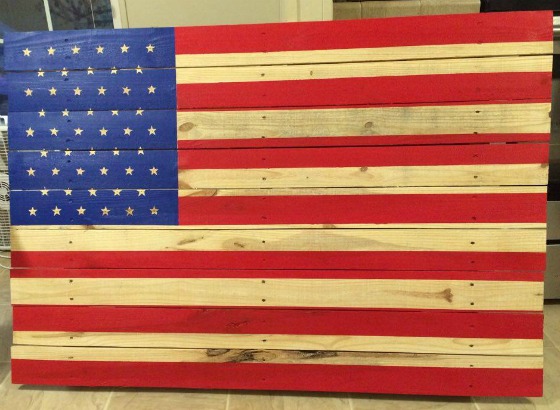
Where will I end up putting it. That is to be determined. We have tossed different spots around, but haven’t settled on one yet. Only time will tell.

