This post contains affiliate links. Read our disclosure policy for more information
This week in our homeschool my second-grader studied worms. One of his recommended activities was observing earthworms and creating an observatory. After a little research on the best methods, it was time to begin.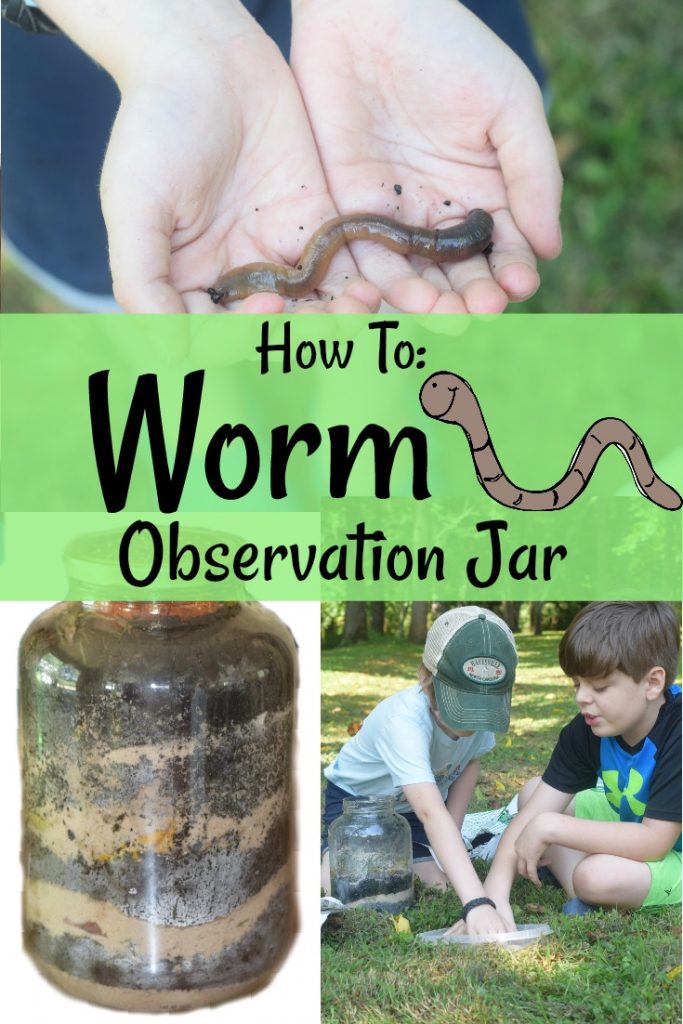
Observing Earthworms
This activity used items that we already had lying around the house for the most part. We opted to use night crawlers for this activity. That meant that we needed to add vegetation between the layers and on the top of the jar for their food source.
What books we used
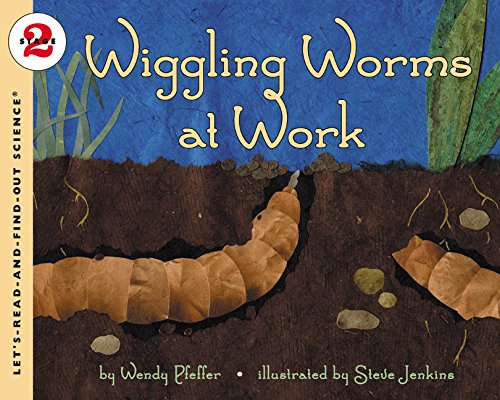
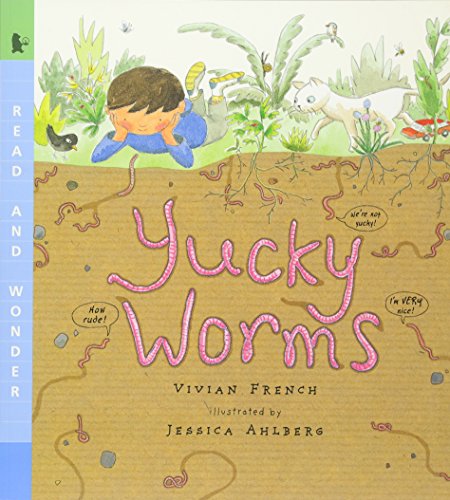
We’re using Apologia 2nd grade Science this year. The Apologia book did offer great information, but I felt like I needed to add a little more. For additional learning, we added the following books. The books were outstanding and helped answer any additional questions my little had.
Wiggling Worms at Work (Let’s-Read-and-Find-Out Science 2) Yucky Worms: Read and Wonder
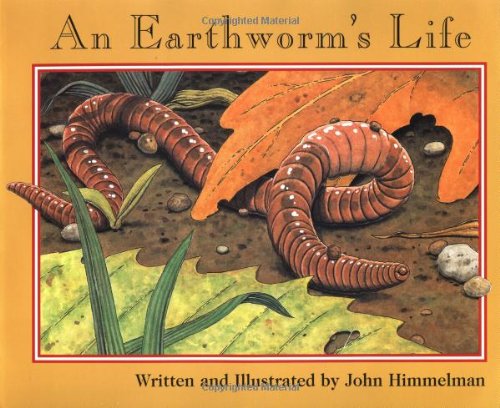
 An Earthworm’s Life (Nature Upclose)
Materials:
Jar
Dirt
Sand
Worms
Vegetation
Black Construction Paper
Tape
Directions:
We started with a layer of sand since we opted to use two jars. One was a large pickle size and one was smaller. We took the smaller jar and placed it into the larger jar on top of our first sand layer.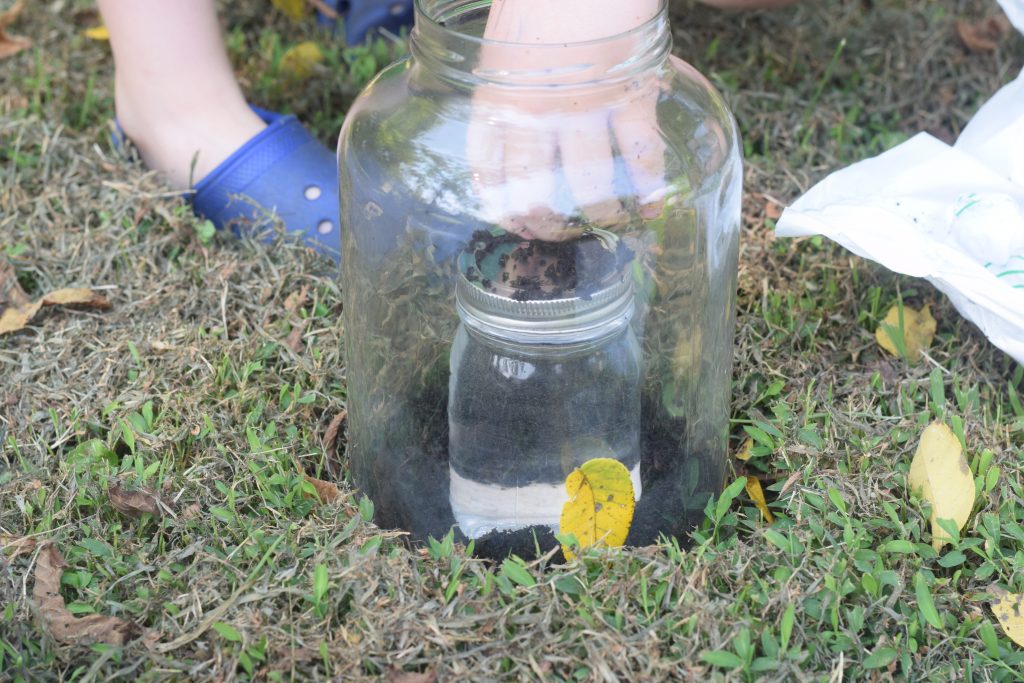
Once the jar was in place, we alternated layering dirt, vegetation, sand. After each vegetation, we would add a couple squirts of water.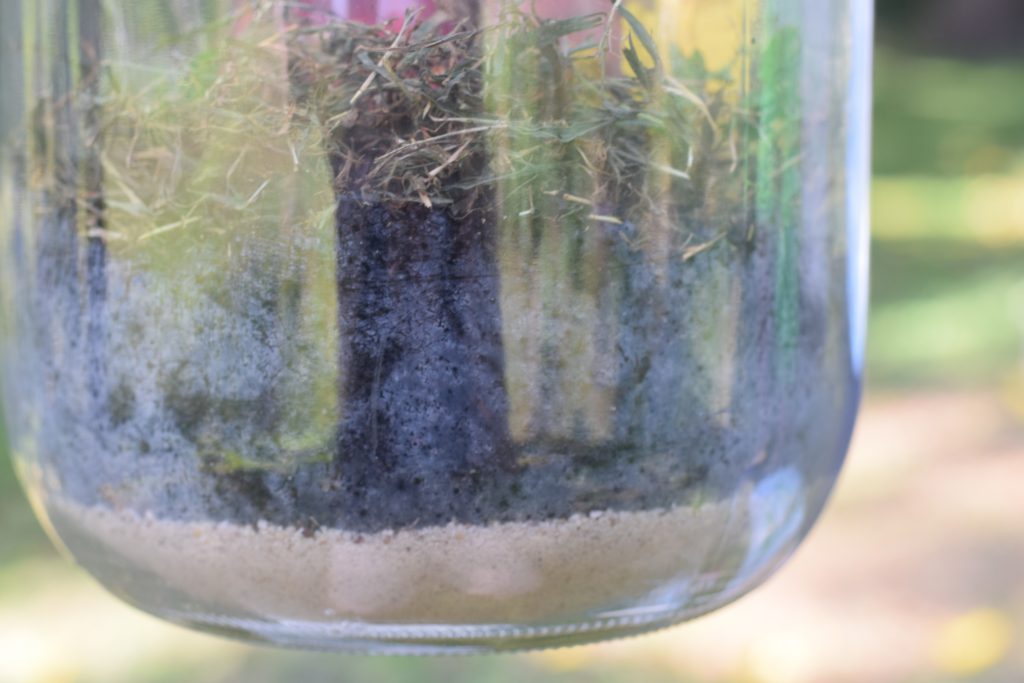
Once the jar was full, it was time to add the nightcrawlers.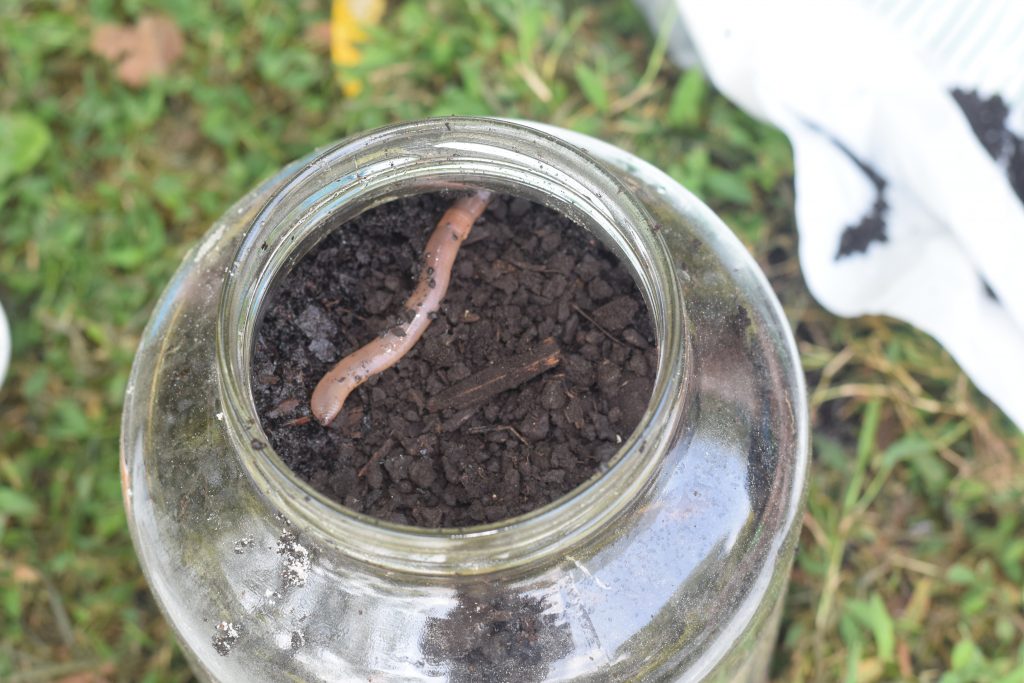
After placing the nightcrawlers in the jar, we topped it off with torn leave pieces and a few spritz of water.
After poking a few holes in the lid, it was time to make the cover to trick the worms. If you place black construction paper around the jar, it helps encourage the worms to dig on the outside area so you can see their tunnels. My husband created this one so that it easily slides on and off the jar.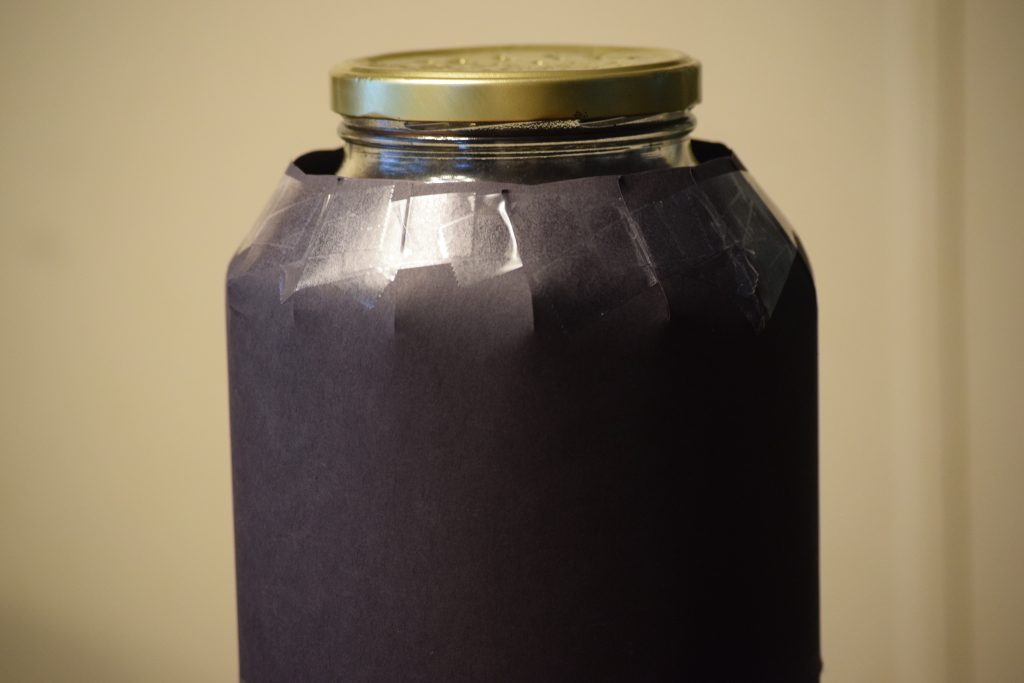
This was such a super cool activity! We kept our worms in their big jar in a dark, cool area for over a week. We did continue to add vegetation for them to munch on. Also, remember to spritz water in the jar every couple of days.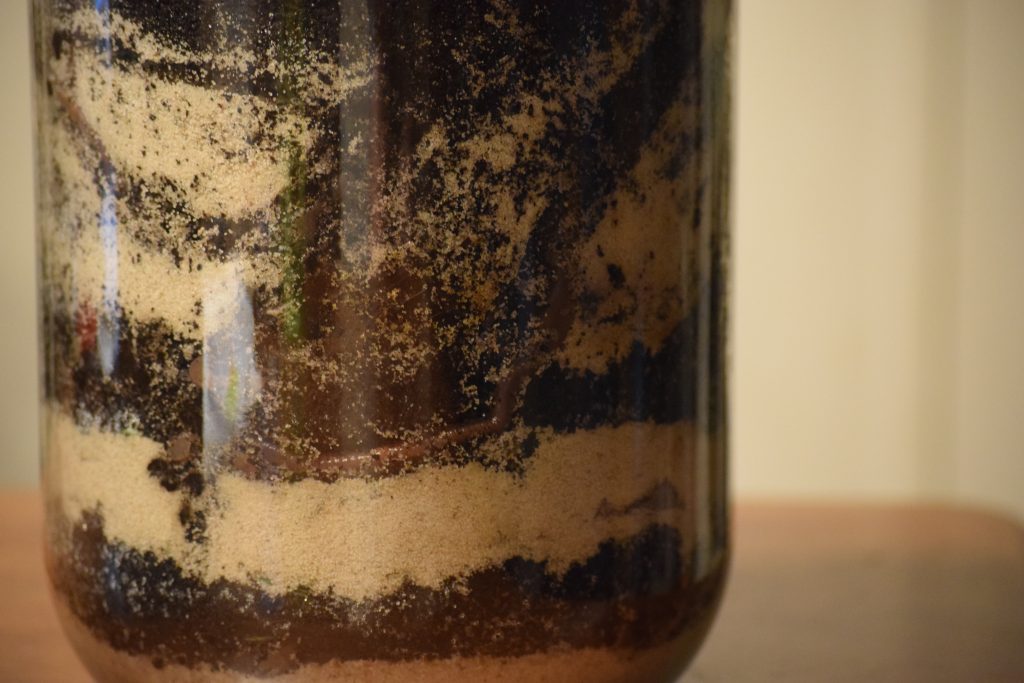
Fun Facts:
A worm has no arm, legs or eyes
There are around 2,700 different kinds of earthworms
Worms tunnel deep into the soil and bring subsoil closer to the surface by mixing it with topsoil.
Baby worms are hatched from cocoons
Additional Learning Resources:
Bug Observation Freebie
Worm Composting
Worm Unit
Wormy Worm-Earthworm Unit and Craft


4 comments
Skip to comment form
I am so skeeved by worms. LOL But this is a great project! Thanks for sharing it on Homeschool Highlights!
Author
Oh I am too. There is just something about worms that make my skin crawl. I have no idea why since they’re harmless. My youngest isn’t a fan at all either. Thank goodness for brave big brothers. 🙂
I may have missed it but what was the smaller jar for?
Author
We found one of the giant pickle jars and used that for this experiment. You could totally use a half gallon jar, and just use less worms and layer it that way.