
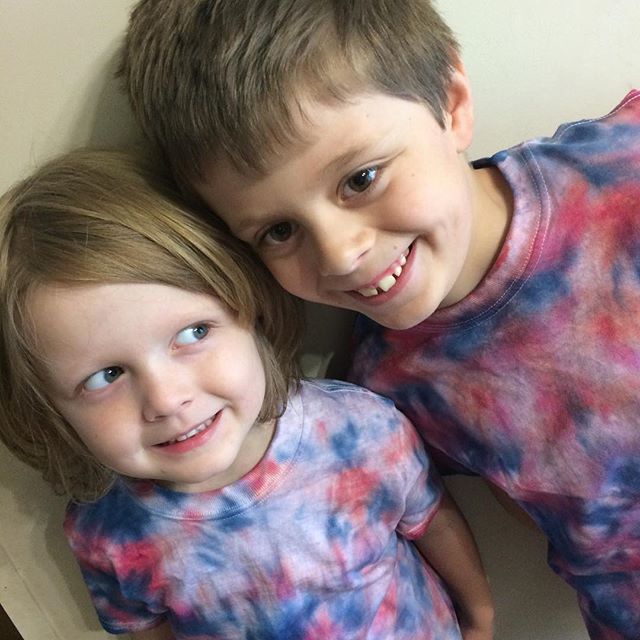
Yesterday we wrapped up a learning unit on the why we celebrate on July 4th by adding fun craft activities that could be used today. They did red, white and blue tie dye shirts
windsocks
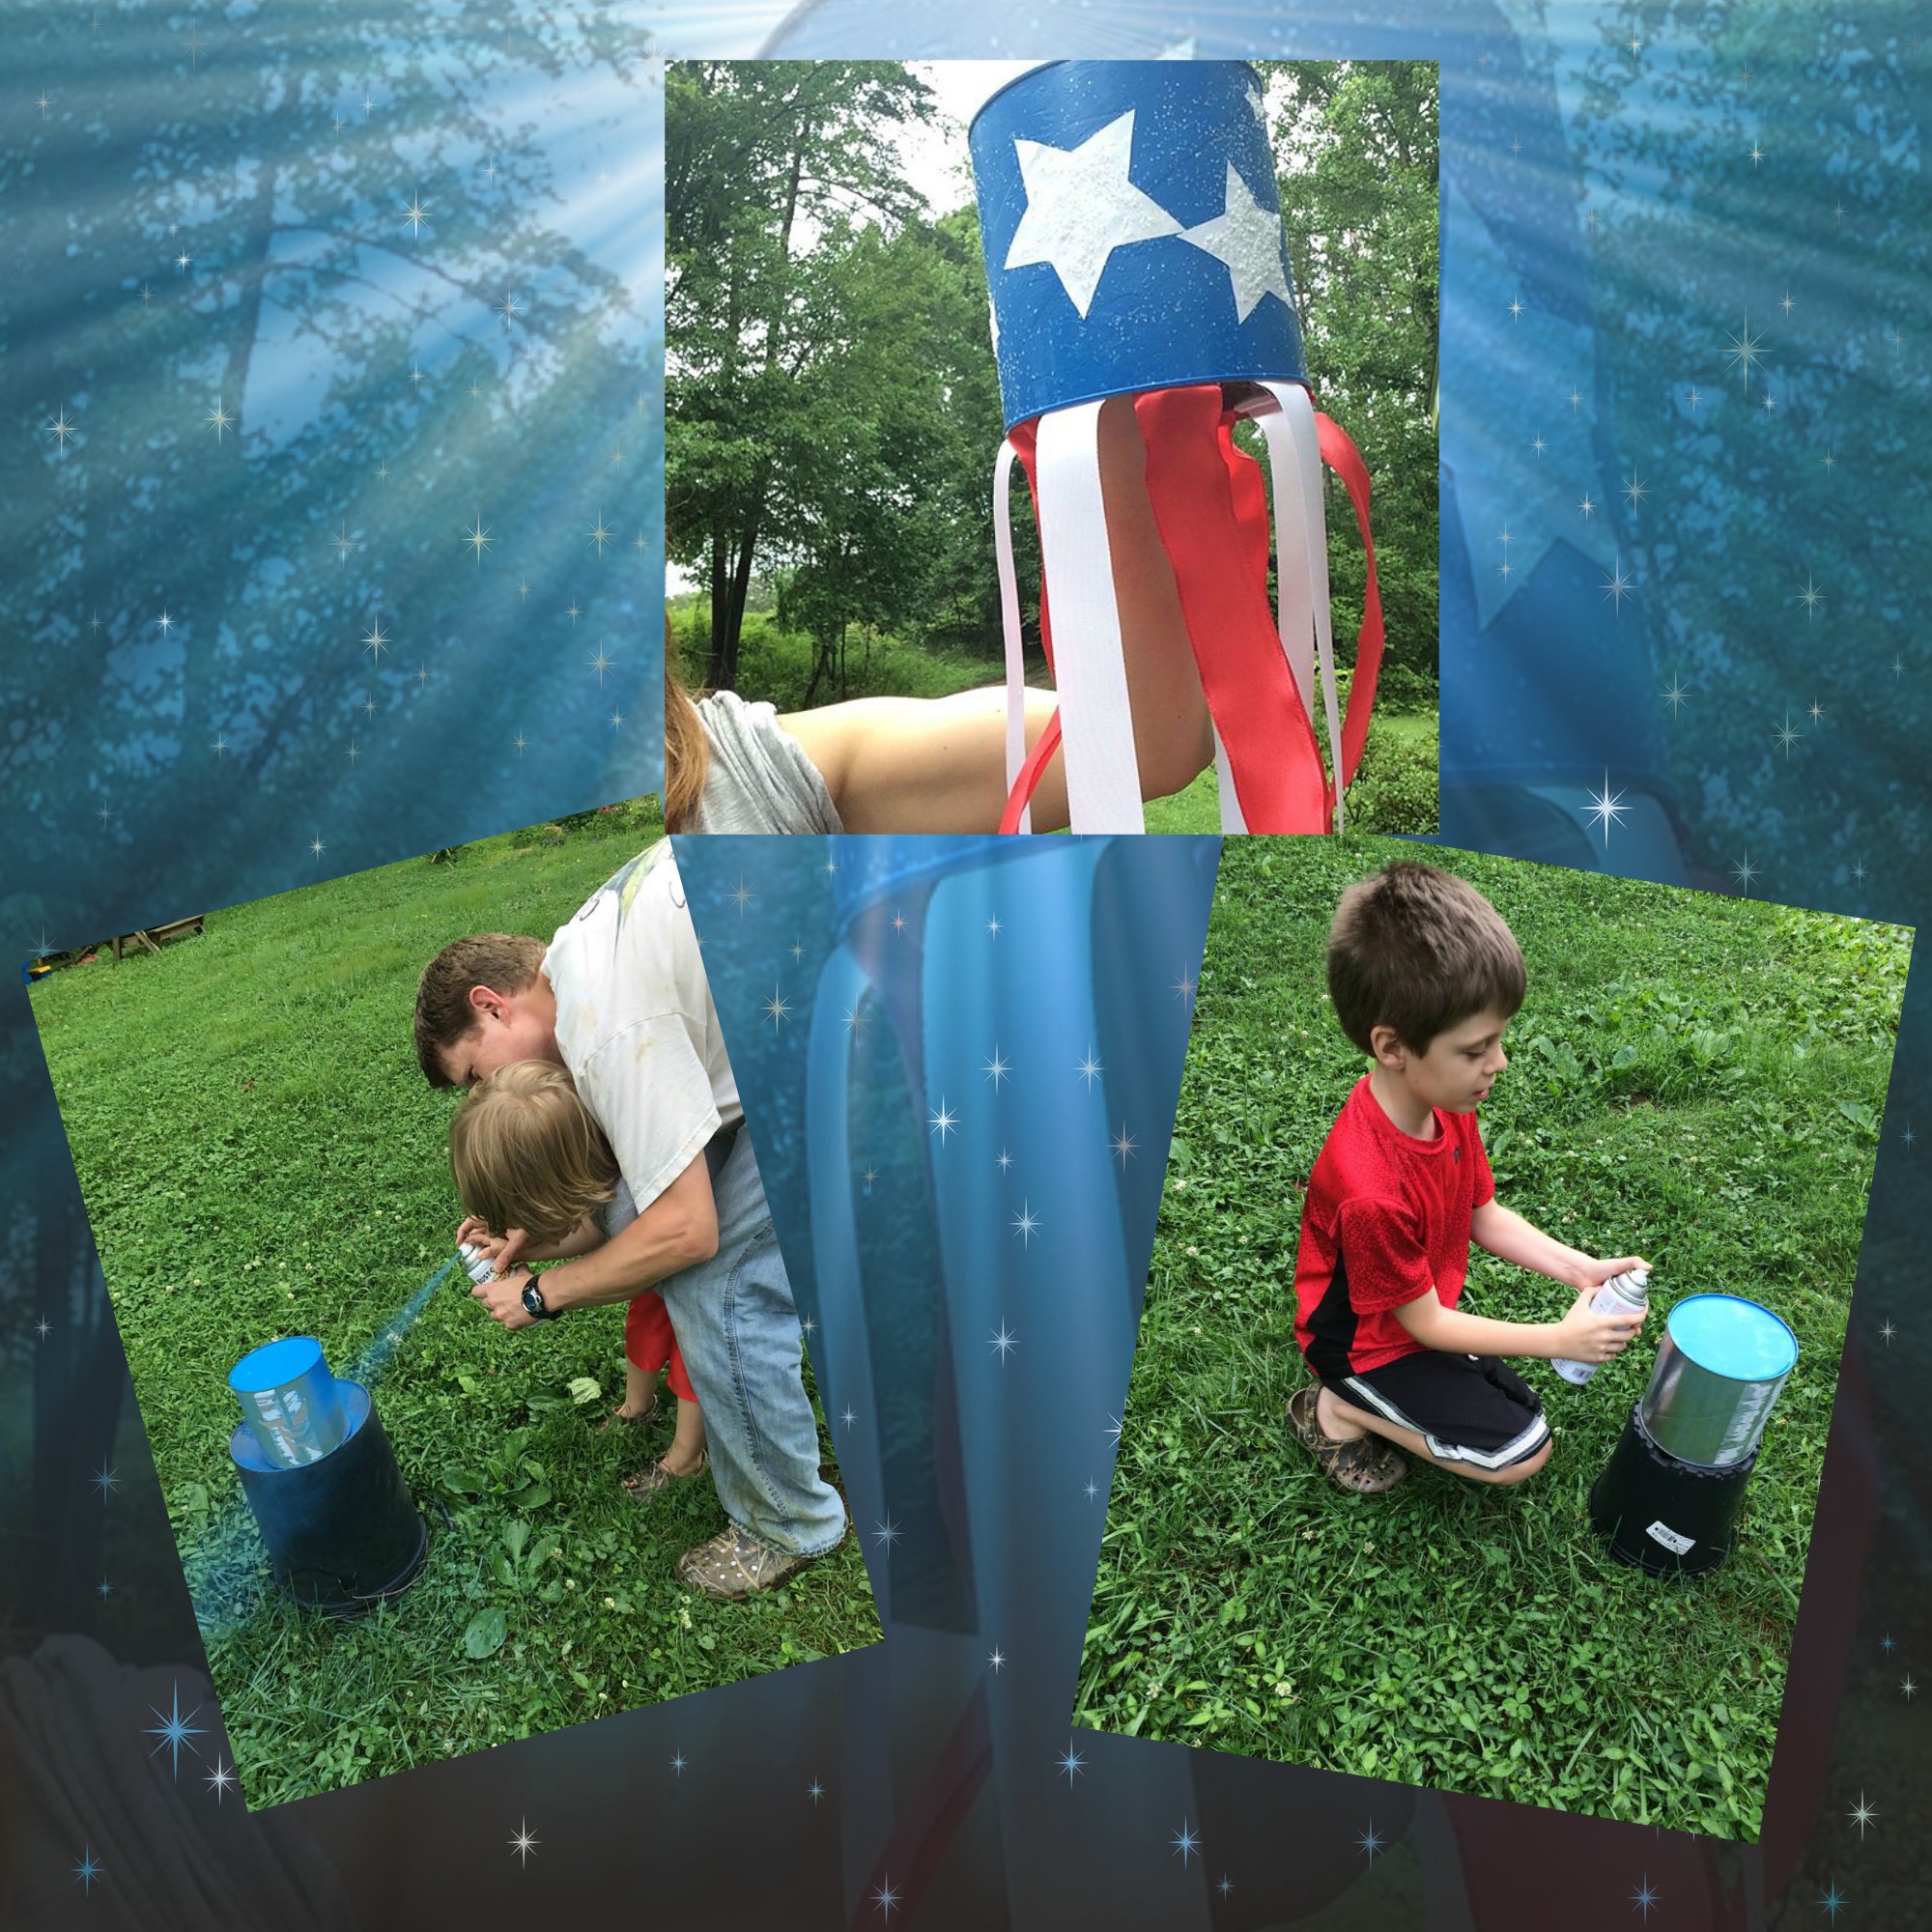
and then a red, white and blue centerpiece for our celebrations this evening. Not only were these easy to make, but we also had all the stuff already in the cabinets.
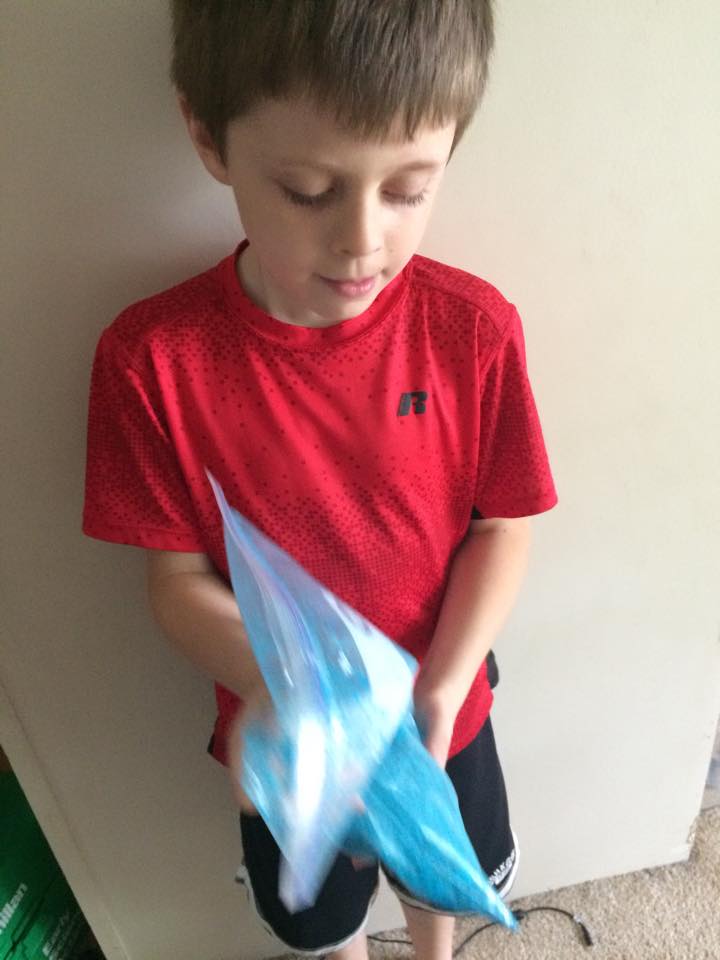
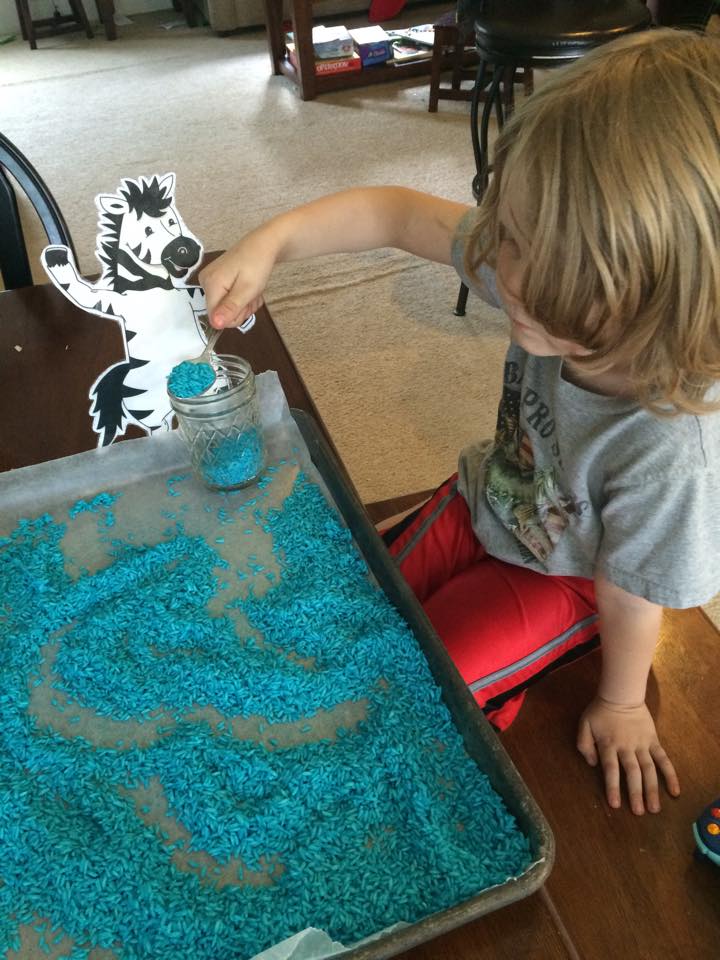
It’s very easy for kids to do this. I put the rice in freezer bags with the dye and told the boys to “shake it like a Polaroid picture.” They love the song “Shake It” on their Kids Bop cd, but have never laid eyes on a Polaroid camera. Regardless, they had fun shaking their bags of rice and dancing around.
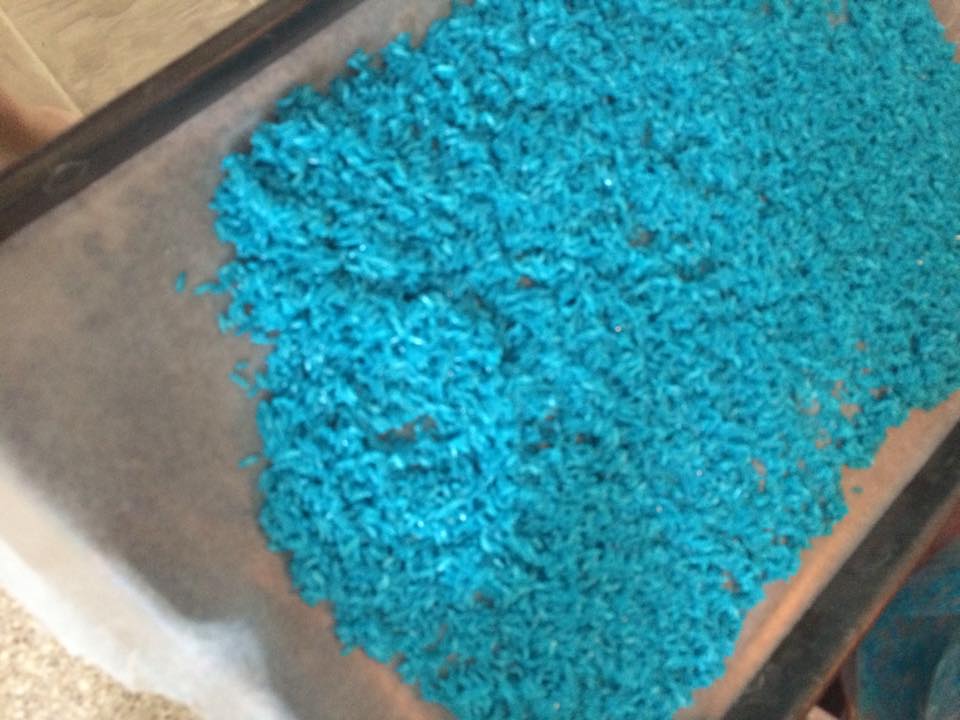
Once they finished dancing around the kitchen and shaking their bags, we then poured the rice on a wax paper covered cookie sheet to let it dry. It takes about 30 minutes to dry and I turned it every 10 minutes or so.
Once it finished drying, then the fun began! My four year old is currently participating in the #FlatZiggy by All About Reading, so he had his flat ziggy helping him out. This was one craft that I didn’t have to help with at all, so I got to actually do one too!
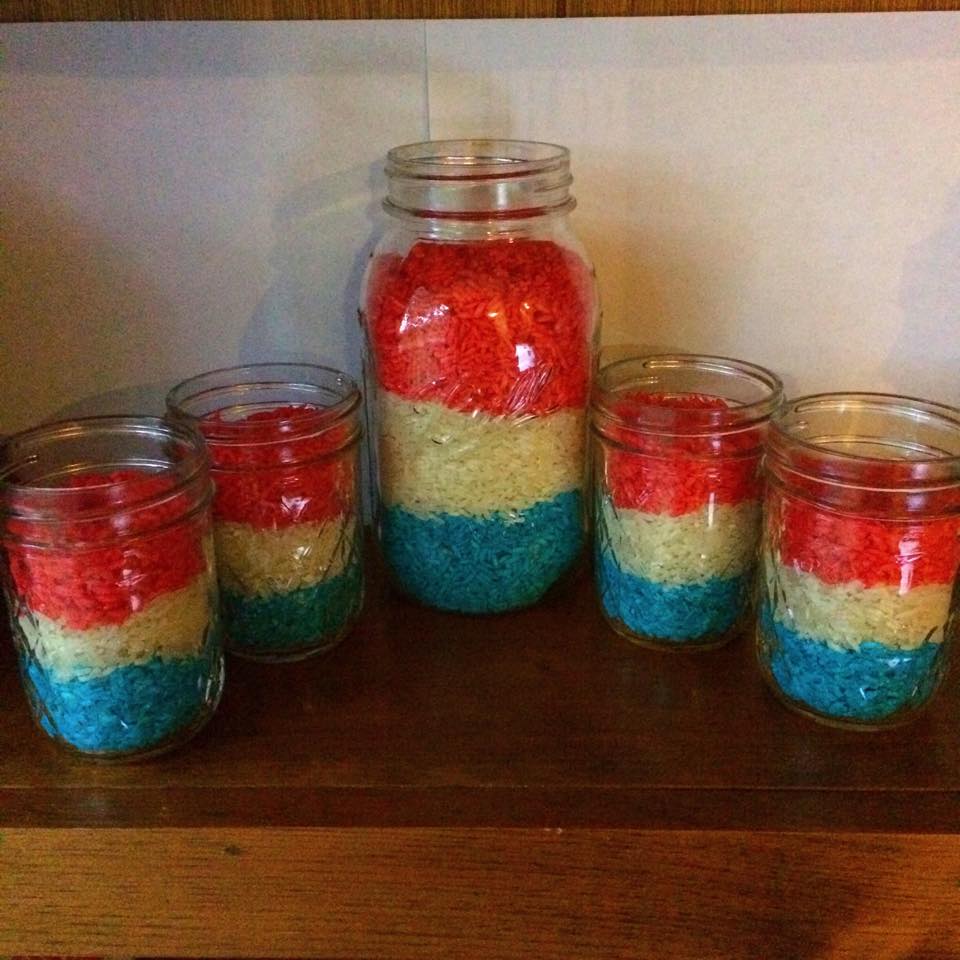
The end results turned out great! All that I had to do was put votive candles in them for use tomorrow. Once the celebrations are over, I’ll be placing the rice in a sensory bin for them play in.

- 6 cups long grain rice
- Food coloring in red and blue
- 2 freezer bags
- Mason Jars
- 2 cookie sheets
- Wax paper
- Water
- Tablespoon
- Tea light candles
- Measure out 2 cups of uncooked long-grain rice each into two separate freezer bags. (total of 4 cups)
- Add 4 tablespoons of water to each freezer bag, close and shake to mix.
- Add 20-30 drops of red food coloring to one bag and 20-30 drops of blue food coloring to one bag.
- Shake vigorously to mix up the color. If it isn't dark enough, feel free to add more color.
- Cover cookie sheet with wax paper and spread out the rice. Be sure to keep the red and blue rice on separate sheets.
- Use a spatula to mix every 10 minutes. It will take around 20-30 minutes for the rice to dry completely.
- Layer the rice in jars using blue, plain white and red.
- Set tea light in the middle of rice and light.
- This ending up making 4 pint size jars and one quart jar for us.
