
 Valentine’s Day is tomorrow and although I am excited to give my husband and the kids their gifts, I am looking forward to it being over. I feel there is entirely too much hype associated with the big day and it is over commercialized. Of course, with that being said, I got caught up in the madness with all the other last minute shoppers trying to find that “perfect” gift. I also used this holiday as a nice excuse to make some delicious cake pops using a recipe and molds from My Little Cupcake.
My Little Cupcake
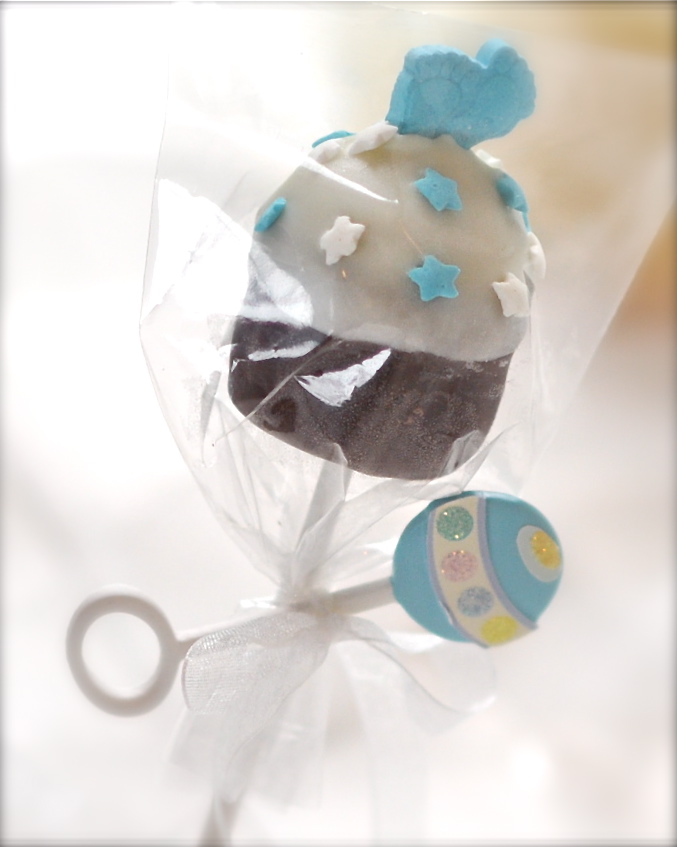
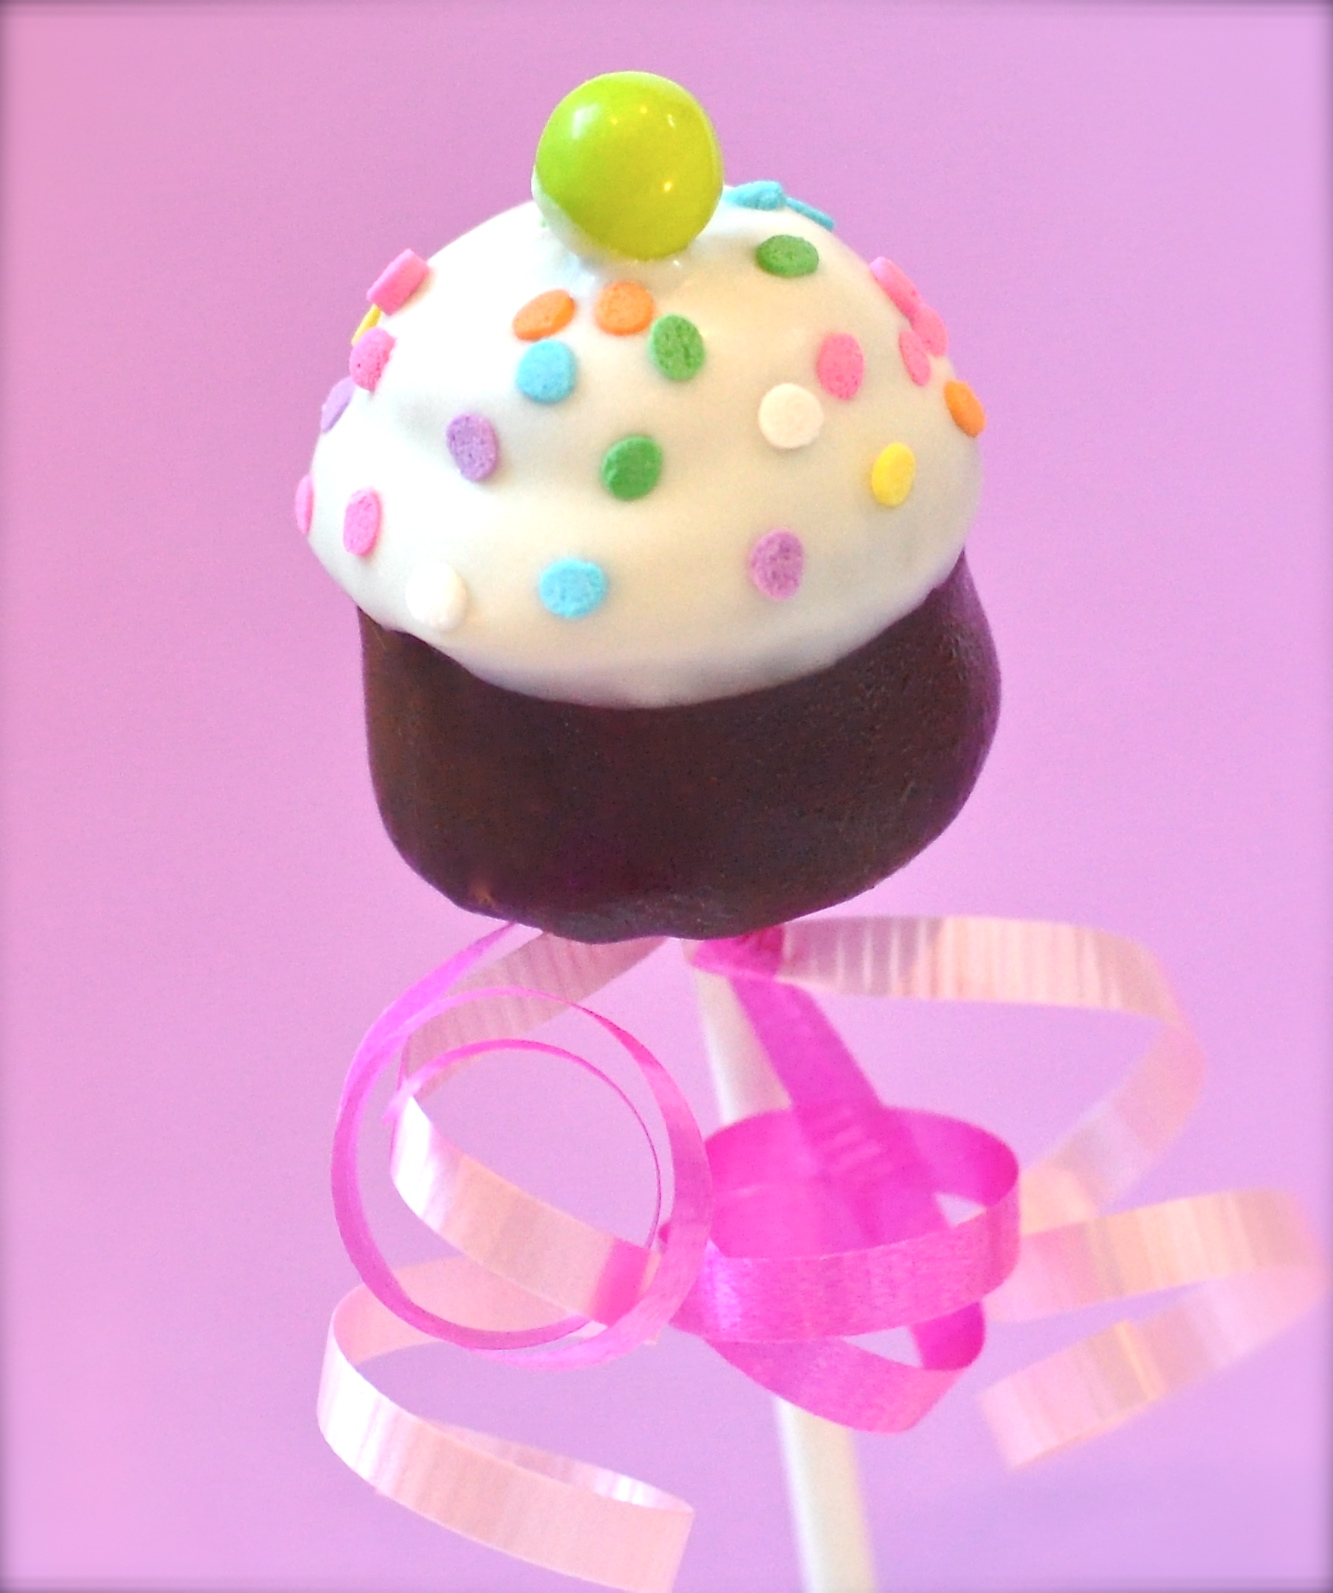
My Little Cupcake prides themselves on “Making pops a piece of cake” with their no-bake cake pop mold. They offer four different types of mini-molds including, a cupcake, sweetheart, cone and ball. My Little Cupcake also offers many decorating tools such as sprinkles, icing and accessories. Each mini-mold retails for $5.95 and party packs are sold for $22.95.
Beginning the process
For this review I received the cone and ball mold. I first started by making my dough out of an entire package or Oreo’s and an 8oz package of cream cheese. I put the Oreo’s in a food processer and got them to a nice fine texture. I then stirred the cream cheese into the crumbled Oreo’s until it was all mixed in. There are several recipes you can use but I liked the ease and taste of this one. After the Oreo’s and cream cheese were nicely blended, I rolled them into balls in the palm of my hands and placed them in the fridge for about 10-15 minutes. Once the dough was chilled, I placed the dough into my molds. I thought the ball would be the easiest but being that I had already rolled them into balls, I found the cone to be the easiest. The dough got placed into the mold, the excess dough was wiped off and viola! A nice cone shape was created in seconds.
Overall Thoughts
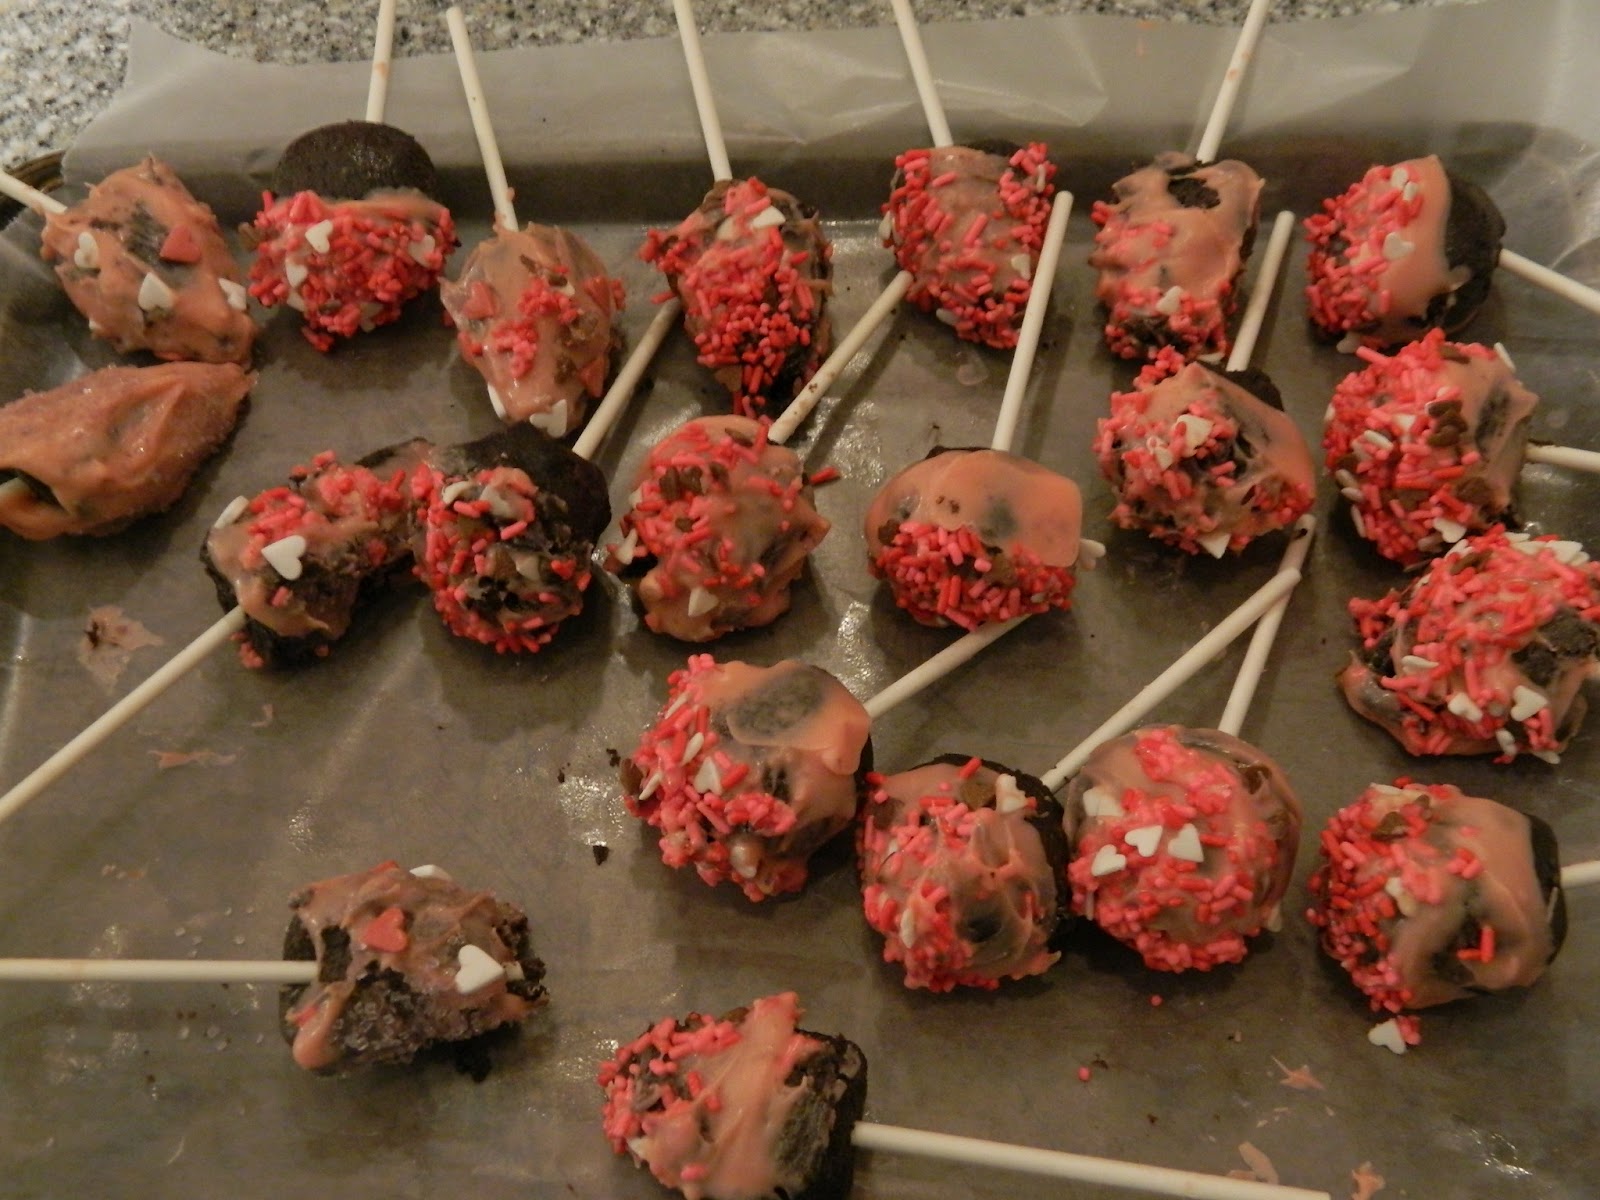
Once I used all my dough I placed the balls and cones in the fridge for about 30 minutes to firm up before dipping and decorating. I melted chocolate and placed lollipop sticks in each of the cake pops so that I could dip them easier. For some reason the melted chocolate seemed to melt my cake pops so some of the cones turned into mush (I believe this was 100% user error). Finally, I placed the finished cake pops in the fridge until I was ready to serve them. As you can see in the picture below, I am by no means a decorator and no matter how hard I try I always seem to have major issues. I am so envious of the pretty pictures of decorated cake pops and dream of one day being that good and that creative!
My Thoughts:
I really liked how easy these were to make. Although I had a bit of trouble in the end with decorating, the entire process leading up to decorating was a cinch. There was no baking involved so the time spent making these pops was dramatically cut. The molds were easy to use and cleaning them afterwards was extremely easy. Making cake pops with My Little Cupcake molds would be perfect for a quick and yummy activity at home, school or daycare. I will be bringing my creation to work tomorrow to share (and of course to have a good laugh over my decorating skills)!
