
This post contains affiliate links. Read our disclosure policy for more information
Halloween is just around the corner and this week, we thought we would share how we made our adorable little Halloween Jar Crafts.

This is a pretty simple craft for the kids. My four-year old chose the pumpkin, while my eight-year old opted to do a mummy. We did use quart jars simply because that’s what I had on hand, but this would be perfect for pint jars as well.
If you want the craft the move a little faster for smaller children, you can paint the jars before hand and then they can glue on the additional pieces, which is what I did.
Supplies
• White Acrylic Craft Paint or Spray Paint
• Orange Acrylic Craft Paint or Spray Paint
• 2 Mason Jars (pint or quart)
• Wine cork
• Green pipe cleaner
• First-aid gauze roll or tape (we used a gauze roll)
• Wiggle eyes
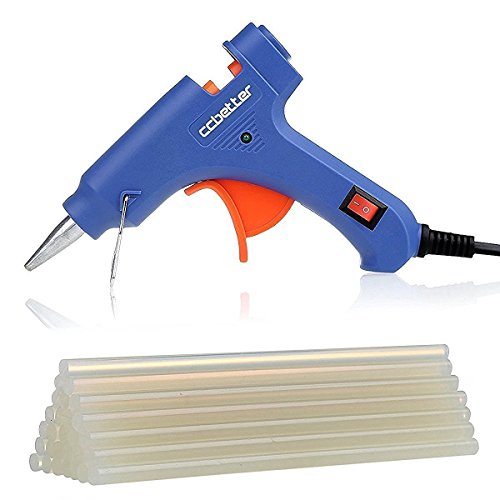
• Glue gun
• School glue
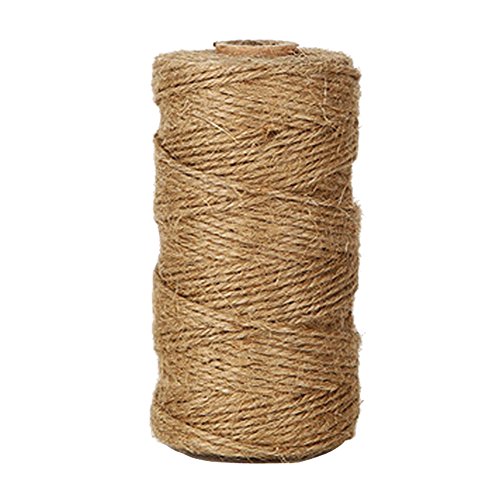
CCbetter Mini Hot Melt Glue Gun with 25pcs Glue Sticks High Temperature Melting Glue Gun Kit Flexible Trigger for DIY Small Craft Projects&Sealing and Quick Repairs(20-watt, Blue) KINGLAKE 300 Feet Natural Jute Twine Best Arts Crafts Gift Twine Christmas Twine Industrial Packing Materials Durable String for Gardening ApplicationsOutus Pompoms, Self-sticking Wiggle Googly Eyes, Chenille Stems for Craft DIY Art Supplies, 450 Pieces

Painting the Jars:
There are two ways that you can paint your jar. The ones you see pictured above, I spray painted them ahead of time using Krylon spray paint, but you could certainly use acrylic craft paint and paint the inside of the jar if you choose. It was just faster to spray paint the jar since I was also spraying the lids.
Once the jars and lids are dry you can start with the assembly.
For the Pumpkin:
I tried to convince my little guy to paint on a pumpkin face, but he was completely against that. So with that, we went over to PicMonkey and he picked out a jack-o-lantern face he liked. We then printed it off using our laser printer and I cut it out.
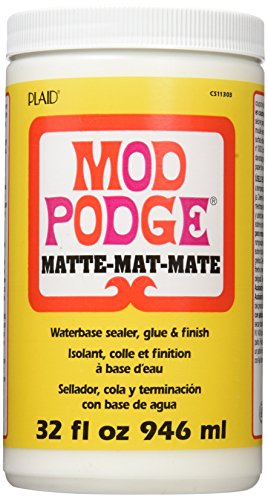
Now this kid is a Mod Podge King and he wanted to use that instead of using school glue for attaching his face. I used a matte finish Mod Podge over the top of the jar, let him put his jack-o-lantern pieces on it and then I gave it one last coat.
#9 Straight Corks 15/16Mod Podge Waterbase Sealer, Glue and Finish (32-Ounce), CS11303 Matte FinishMEDca Medical Gauze Stretch Bandage Roll Tape Used For Wound Care Dressing 12 Pack 4” x 4 Yards
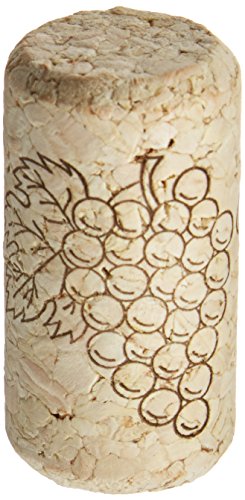
While the Mod Podge on his jar was trying, we tackled the lid. I used a wine cork that I had lying around (we always save them just in case), and used a knife to cut it down just a tad. After we got it the size we needed, we used the hot glue gun to glue it down. I put the glue on and let him place the cork where he wanted it. Great thing about the glue gun is it dries so fast. Once it dried, we took our pipe cleaner and wrapped one end around a pen to spiral it a tad and then wrapped it around the cork. I did put a little hot glue on the pipe cleaner to hold it in place.
That was it. Easy Peasy and he is so proud of his spooky creation.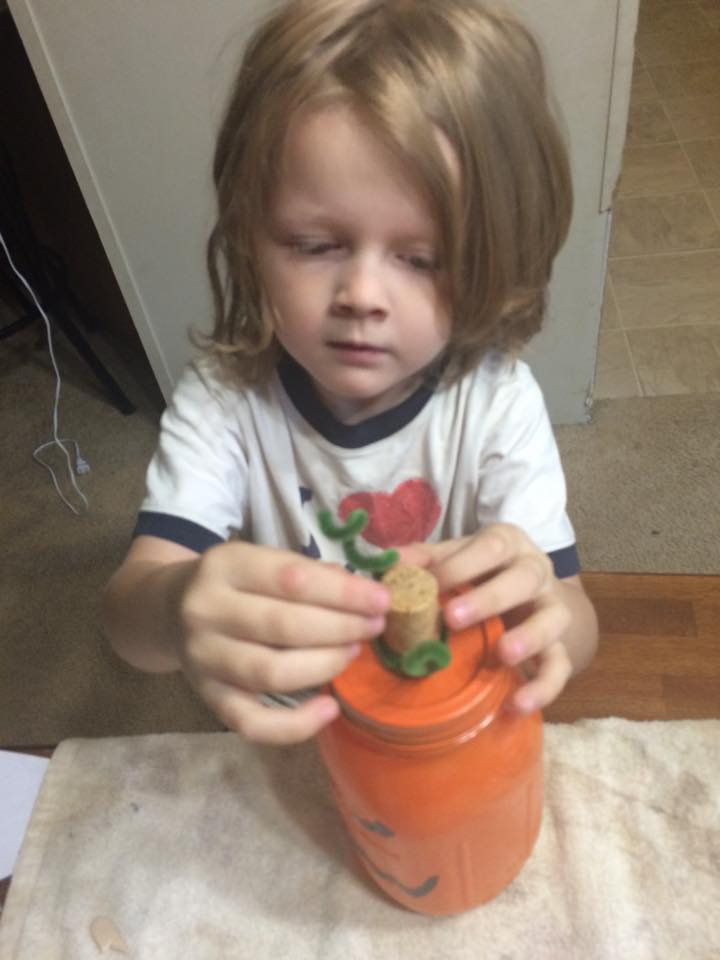
For the Mummy:
The mummy was actually a tad easier to make. Once the jar and lid dried, my eight-year old put the lid on it and then he grabbed the gauze roll. We tied it ever so lightly at the top and then he took off rolling the gauze around the pumpkin however he wanted. Once he decided he had the gauze the way he wanted it, he took just regular school glue and glued the top where we had it tied and then the bottom as well.
After that, we picked out the wiggle eyes. He chose the biggest ones we had and used just regular school glue and glued them in place. 
They both turned out absolutely adorable (or I should say spooky) and they have them displayed around the house for everyone to enjoy!!
